 Seperti kita ketahui, windows 7 memiliki fitur keamanan yang lebih baik dari windows generasi sebelumnya. Karena itu juga, cara system menangani file maupun folder juga sedikit berbeda. Terlebih lagi jika berhubungan dengan jaringan, banyak perbedaan dan perubahan pada struktur maupun tingkat keamanan user pada folder jaringan.
Bagi yang sering berbagi pakai file menggunakan windows XP, mungkin akan sedikit merasa kesulitan saat ingin share folder di komputer yang memakai sistem operasi windows 7. Berikut kami sampaikan bagaimana cara melakukannya. (Saat melakukan percobaan, kami menggunakan Windows XP Professional dan Windows 7 Ultimate Edition).
Setting sharing file pada windows 7 ultimate edition
- Pastikan PC windows 7 dan XP memiliki group yang sama. (Pada dasarnya hal ini bukan harga mutlak, tetapi akan lebih mudah jika anda membuat group yang sama untuk menghubungkan kedua perangkat komputer).

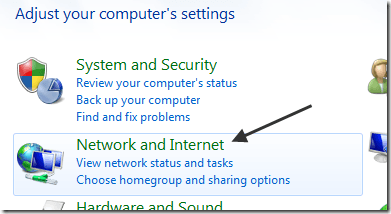
- Buka Control Panel, pilih Network and Internet dan lanjutkan dengan klik Network anda Sharing Center.

- Klik Change Advanced Sharing Setting dan rubah semua setting agar mengijinkan komputer lain bisa mengakses komputer windows 7 ini. Kalau perlu, jangan gunakan pilihan password protection sharing agar orang yang mengakses komputer anda tidak perlu lagi mengakses menggunakan password (Demi keamanan data-data anda, jangan pernah gunakan pilihan ini pada jaringan publik seperti hotspot di kafe, mall atau wilayah publik yang lain).

- Setelah itu, klik Save Changes.
- Lanjutkan dengan membuat folder yang akan di share dengan komputer lain.
- Buka windows explorer dan buat folder baru. Klik kanan folder tersebut dan pilih properties.
- Klik tab Sharing diikuti dengan klik tombol Share.

- Pada menu drop down, tambahkan user yang diizinkan untuk mengakses folder (Pada contoh kali ini kami menggunakan Evryone, yang intinya semua orang bisa akses tanpa melalui autenstikasi dan password).

- Tambahkan tingkat perizinan pada user Everyone, apakah hanya bisa membaca saja atau bisa juga menambahkan file (menulis).

- Terakhir, klik share dan di ikuti dengan klik tombol Done.
- Buka windows explorer dan buat folder baru yang akan digunakan untuk sharing file.
- Klik kanan folder tersebut dan pilih properties.
- Klik tab Sharing dan beri tanda check pada bagian Share this folder on the network.

- Jika anda mengizinkan orang lain untuk menulis atau menghapus file pada folder tersebut, beri tanda pada bagian Allow network users to change my files.
- Terakhir kali, klik tombol OK.
Coba anda akses folder windows 7 melalui windows XP. Caranya, buka Control Panel, Network Connection, My Network Places. Cari dan klik dua kali nama komputer dari windows 7. Klik folder sharing dan coba anda ambil data dari sana. Jika anda mengizinkan akses read-write, coba anda lakukan penulisan. Bisa dengan cara membuat folder baru atau mencoba mencopy file dari komputer XP ke folder tersebut.
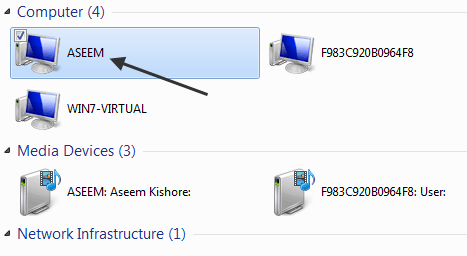
Sekarang kembali ke komputer yang ber-OS windows 7. Buka windows explorer, klik network pada bagian kiri paling bawah, kemudian pilih komputer yang terinstall windows 7. Disitu anda akan melihat sebuah folder yang telah di share. Coba akses dan ambil beberapa file pada foler tersebut. Jika anda tadi memberikan akses read-write pada Allow network users to change my files, maka anda bisa mencopy, menambah maupun menghapus file pada folder share tersebut.


